
There’s a certain magic to South African biltong that sets it apart from other dried meat snacks. Often mistakenly called South African beef jerky, biltong is a unique culinary treasure with a rich history and a distinct preparation method. This guide will walk any enthusiast through the process of creating perfect homemade biltong, exploring the traditional curing process, the essential biltong ingredients, and the art of achieving the perfect texture and flavour.
For those new to this traditional South African snack, the journey begins with understanding its origins. Biltong was developed by the Voortrekkers, Dutch pioneers who needed a reliable, non-perishable protein source for their long treks across the African continent. The method has been refined over centuries, but the core principles remain the same: curing high-quality meat with a simple spice mix and air-drying it to perfection.
Table of Contents
What is Biltong? A Culinary Treasure
Beef jerky from South Africa, known as biltong, is more than just a snack; it’s a cultural experience rooted in history. Unlike many commercial jerkies, authentic South African style beef jerky is air-dried without heat, resulting in a tender, deeply flavored meat that is incredibly rich in protein. This guide will walk you through a traditional biltong recipe, from selecting the right cut of beef to mastering the delicate drying process. The satisfaction of creating homemade biltong is a rewarding project for any food lover. For other unique homemade creations, explore our guide on Homemade Jalbité Drinks & Liquor.
- Preparation Time: 30 minutes (plus 12-24 hours curing time)
- Drying Time: 4-7 days
- Servings: Makes approximately 500g of biltong
Equipment You’ll Need
You don’t need expensive equipment to create perfect South African beef jerky. The key is controlling airflow and temperature.
- A sharp knife for slicing the meat.
- A large glass or plastic bowl for the curing process.
- Paper towels.
- Hooks or wooden skewers for hanging the meat.
- A well-ventilated area or a DIY biltong box (a simple container with a small fan for air circulation).
The Heart of Biltong: Ingredients and Spice Mix
The soul of any great biltong recipe lies in its biltong spices. A purist’s approach focuses on a few key components that work in harmony to enhance the natural flavour of the beef without overpowering it.
The Essential Spice Blend
- Coriander Seed: This is the signature spice of biltong. Toasting the coriander seeds before crushing them releases essential oils that contribute a warm, aromatic flavour and also helps suppress bacterial growth.
- Black Pepper: Coarsely ground black pepper adds a gentle heat and complexity. It also serves a practical purpose by helping to deter flies during the drying process.
- Salt: Rock salt or coarse sea salt is a crucial preservative and flavour enhancer. It draws out moisture and creates an environment where harmful bacteria cannot thrive. The key is to use enough for safety and taste, but not so much that it becomes overpowering.
- Vinegar: The role of vinegar is twofold: it tenderizes the meat and acts as a disinfectant. While brown vinegar is the traditional choice, some recipes successfully use cider vinegar or even a touch of balsamic vinegar for depth.
- Optional Ingredients: Some modern recipes include a small amount of brown sugar to balance the saltiness, or a pinch of bicarbonate of soda to neutralize acidity and act as a meat tenderiser. For those who enjoy heat, chilli flakes or a piri piri blend can be added for a spicy kick.
The Biltong-Making Process: A Step-by-Step Guide
Creating homemade biltong is a rewarding process that requires patience and attention to detail. The journey from raw meat to finished snack involves several critical stages.
1. Selecting and Preparing the Meat
The best cuts for biltong are lean, whole-muscle meats. Silverside and topside are excellent and popular choices. The meat should be trimmed of excess sinew and fat. While some fat can add flavour, it’s important to note that fat does not dry like muscle and can become rancid over time. The meat is then sliced with the grain into strips typically 2-3 cm thick, which influences the final texture significantly.
2. The Curing Process
The slices are first dipped in or sprayed with vinegar. Then, they are thoroughly coated in the dry spice mix. The meat is placed in a non-metallic dish, covered, and left to cure in the refrigerator for 12-24 hours. During this time, the salt and vinegar work their magic, penetrating the meat and beginning the preservation process.
3. The Art of Drying: Airflow and Temperature
This is where biltong truly diverges from common beef jerky. Biltong is air-dried, not cooked with heat. The goal is to remove moisture slowly in a cool, well-ventilated environment. This is typically achieved using a biltong box, a specially designed drying chamber that provides consistent airflow without excessive heat.
The ideal conditions involve good air circulation at room temperature or slightly below. Excessive heat can cause case hardening, where the outside of the meat becomes tough and leathery, trapping moisture inside. This uneven drying is a common pitfall for beginners. The drying time can vary from 3 to 7 days, depending on the thickness of the meat strips and the ambient humidity.
Determining Doneness and Preferred Texture
The beauty of homemade biltong is that you can dry it to your preferred consistency. Some enjoy a wet biltong that is still soft and moist in the centre, while others prefer it completely dry and firm. The only way to check is by feel; the meat should be firm on the outside with a slight give if you prefer it moistier.
Step-by-Step Instructions: How to Make South African Beef Jerky
Follow these steps to create your own delicious biltong beef jerky South Africa style.
- Prepare the Meat: Trim any thick layers of fat from the beef. Slice the meat with the grain into strips about 1-inch (2.5 cm) thick.
- Toast the Spices: In a dry pan over medium heat, lightly toast the coriander seeds and black peppercorns until fragrant. Let them cool, then coarsely grind them using a spice grinder or mortar and pestle. Mix them with the rock salt and optional brown sugar.
- Apply the Vinegar: Place the meat strips in a non-metallic bowl. Sprinkle the vinegar over the meat, ensuring each piece is lightly coated. This step is crucial for preservation and flavor.
- Coat with Spices: Generously coat each piece of meat with the spice mix, pressing it in to ensure it adheres. Place the coated strips in the bowl, cover, and refrigerate for 12-24 hours.
- Pat Dry: After curing, you will see liquid in the bottom of the bowl. Remove the meat strips and pat them firmly dry with paper towels.
- Hang to Dry: Hook the ends of the meat strips and hang them in your prepared well-ventilated area or biltong box. Ensure the pieces are not touching to allow for maximum airflow.
- The Drying Process: Let the meat dry for 4 to 7 days. The drying time depends on the thickness of your strips and the humidity. The South African beef jerky is ready when it is firm to the touch but may still have a slight give in the center for a “wet” style.
- Check for Doneness: After 4 days, check the texture daily by pressing the meat. It should be dry on the outside but can be as moist or as dry as you prefer on the inside.
- Slice and Serve: Once dried to your liking, take the biltong down and slice it thinly against the grain for the most tender bite.
- Storage: Store your homemade biltong whole by hanging it in a cool, dry place. Once sliced, keep it in a paper bag in the refrigerator to maintain the perfect texture.
Advanced Tips and Troubleshooting for Perfect Biltong
Even with a great recipe, challenges can arise. Here’s how to handle some common biltong-making scenarios.
Dealing with Mould
In humid conditions, mould can appear as white or green spots. If caught early, it can be wiped off with a cloth dampened with vinegar. Ensuring adequate airflow in your biltong box is the best prevention.
Solving Case Hardening
If the outside of your biltong is rock-hard but the inside is still raw, you are likely experiencing severe case hardening. This is often due to excessive airflow or heat. To salvage it, you can vacuum-seal the biltong and refrigerate it for a week or two to allow the moisture to redistribute evenly.
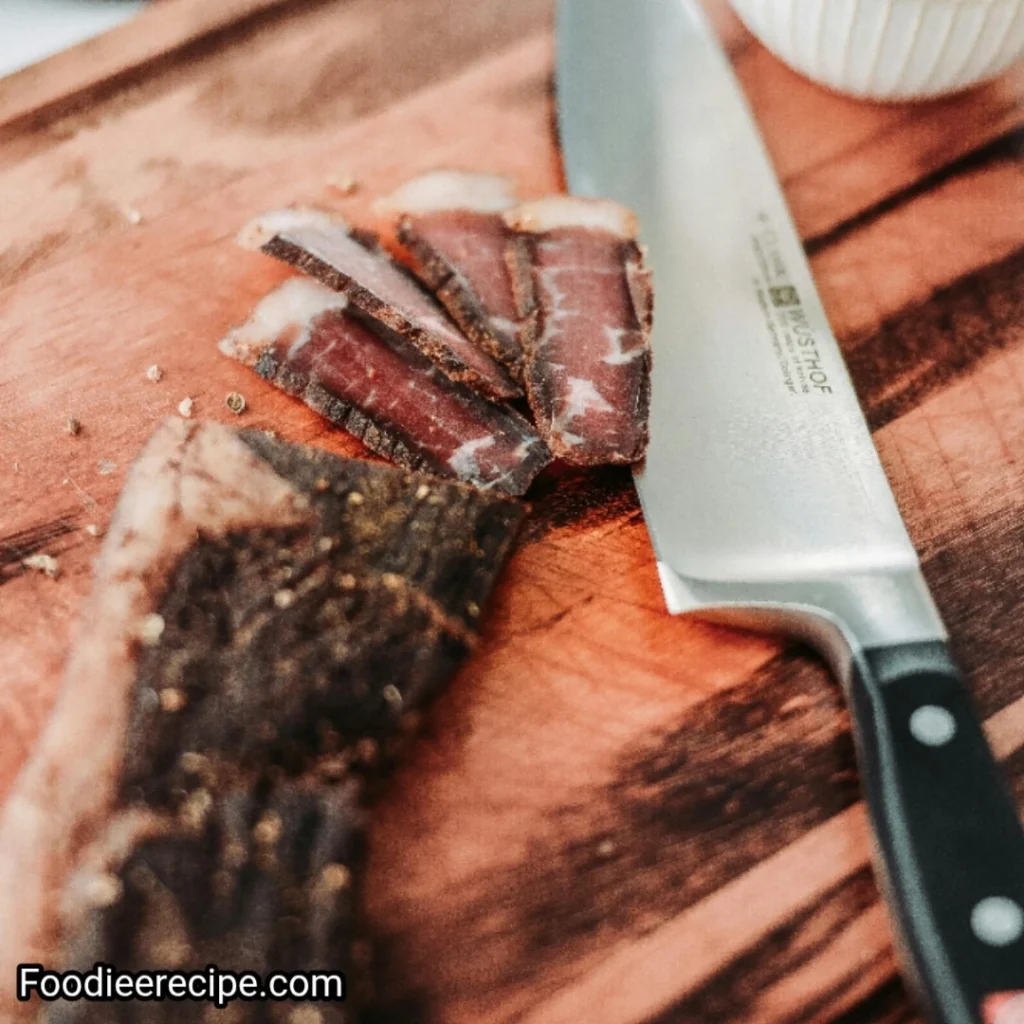
Cutting and Storing Your Biltong
Once dry, biltong should be sliced thinly against the grain for the most tender eating experience. A sharp biltong knife or a mechanical biltong slicer makes this task much easier. For storage, the best method is to keep the whole sticks hanging in a cool, dry place. Once sliced, it can be stored in a paper bag in the refrigerator, which allows it to breathe and prevents mould. For very long-term storage, vacuum-sealing and freezing is an effective storage method.
Notes / Pro Tips for the Best Biltong
- Spice Variations: For a spicy kick, add 1-2 teaspoons of chilli flakes to the spice mix.
- Preventing Mould: Good airflow is essential to prevent mould. If you live in a humid climate, a fan is necessary.
- Where to Buy: If you’re not ready to make your own and are wondering where can I buy South African beef jerky near me, look for specialty butchers or online retailers that offer South African beef jerky sale items.
- Commercial Brands: Popular South African beef jerky brand options can be found in stores like Trader Joe’s or in cities like NYC, Perth, and Sydney in specialty shops.
- The key to great biltong is patience. Rushing the drying process with heat will result in an inferior product.
- Experiment with the thickness of your cuts to find your preferred texture. Thinner slices dry faster and are crunchier.
- If your first batch isn’t perfect, don’t be discouraged! Making homemade biltong is a skill honed through practice.
- For a delicious dessert to enjoy after your savory snack, try our Caramel Apple Brownies Recipe.
Conclusion: More Than Just a Snack
Biltong is a versatile and delicious protein source that embodies a piece of South African heritage. Whether enjoyed as a healthy snack, a post-workout boost, or a treat shared with friends, the satisfaction of making your own is unparalleled. By understanding the balance of biltong spices, respecting the curing process, and mastering the drying conditions, anyone can create this authentic traditional South African snack at home. So, source a good cut of beef, mix up your spices, and embark on the rewarding journey of making your own perfect biltong.
The journey from a simple piece of beef to a shelf-stable delicacy is a testament to the ingenuity behind this traditional South African snack. So, gather your ingredients, embrace the process, and get ready to enjoy the unparalleled, authentic taste of homemade biltong—a true testament to the fact that the best snacks are often the ones we craft with our own hands.